DIY Leather bracelet
We are literally slammed here this week at C and D. We have two weddings in which we are doing florals for both has left us harried busy. I had a really great post lined up to do a spotlight on a really awesome DIYer - but alas it did not happen. So I ganked a post from Crap I've Made because I am totally obsessed with leather cuffs/bracelets. Sam got me a leather bracelet for Mother's Day and it is my staple for all my outfits right now.
 |
| Love it! |
I found this tutorial and I am going to actually try this sometime in July...I think..well at one point in my life I will attempt this project! So here is a great tutorial on how to make a leather cuff bracelet!
 |
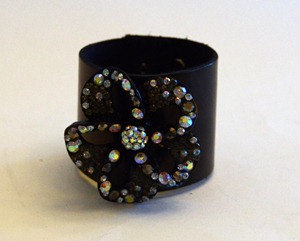
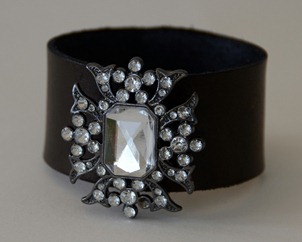
| The finished project...so cute!! |
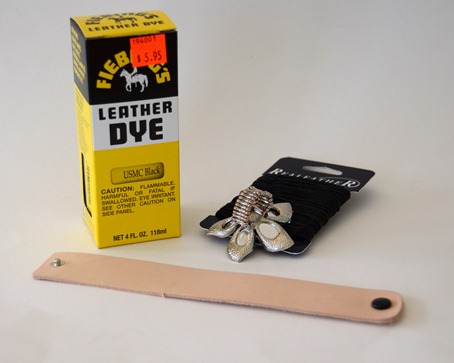
You’ll need:
A leather cuff (mine came from the leather store, but you can get them at Hobby Lobby as well)
Leather dye (again, mine came from the leather store, but Hobby Lobby carries it)
Some sort of embellishment. I like these stretchy rings because they’re easy to attach. Mine came from Claire’s clearance and Rue 21.
Leather “string” to attach the embellishment (mine came from Hobby Lobby)
Leather dye (again, mine came from the leather store, but Hobby Lobby carries it)
Some sort of embellishment. I like these stretchy rings because they’re easy to attach. Mine came from Claire’s clearance and Rue 21.
Leather “string” to attach the embellishment (mine came from Hobby Lobby)
For the black cuffs, I used leather dye. You swab it on and then buff it shiny once it dries.
For this one, I brushed the leather with olive oil:
And for this one, I used wood stain:
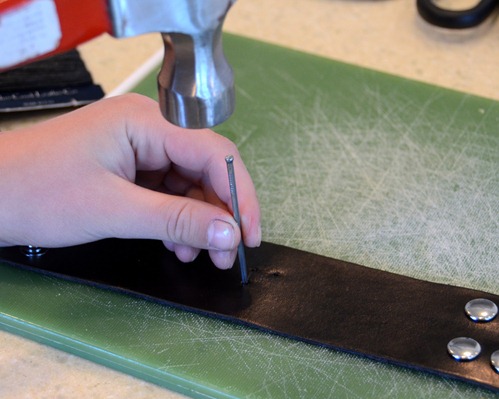
Once you’ve got your leather the color you want it, decide where you’re going to place your embellishment. The stretching rings have 4 holes, so I just transferred those over to the cuff. I (it was totally Macy) made the holes using a hammer and a nail.
There’s probably an actual leather tool for this, but I used what I had on hand.
Tie on your embellishment with the leather string, and you’re good to go!


